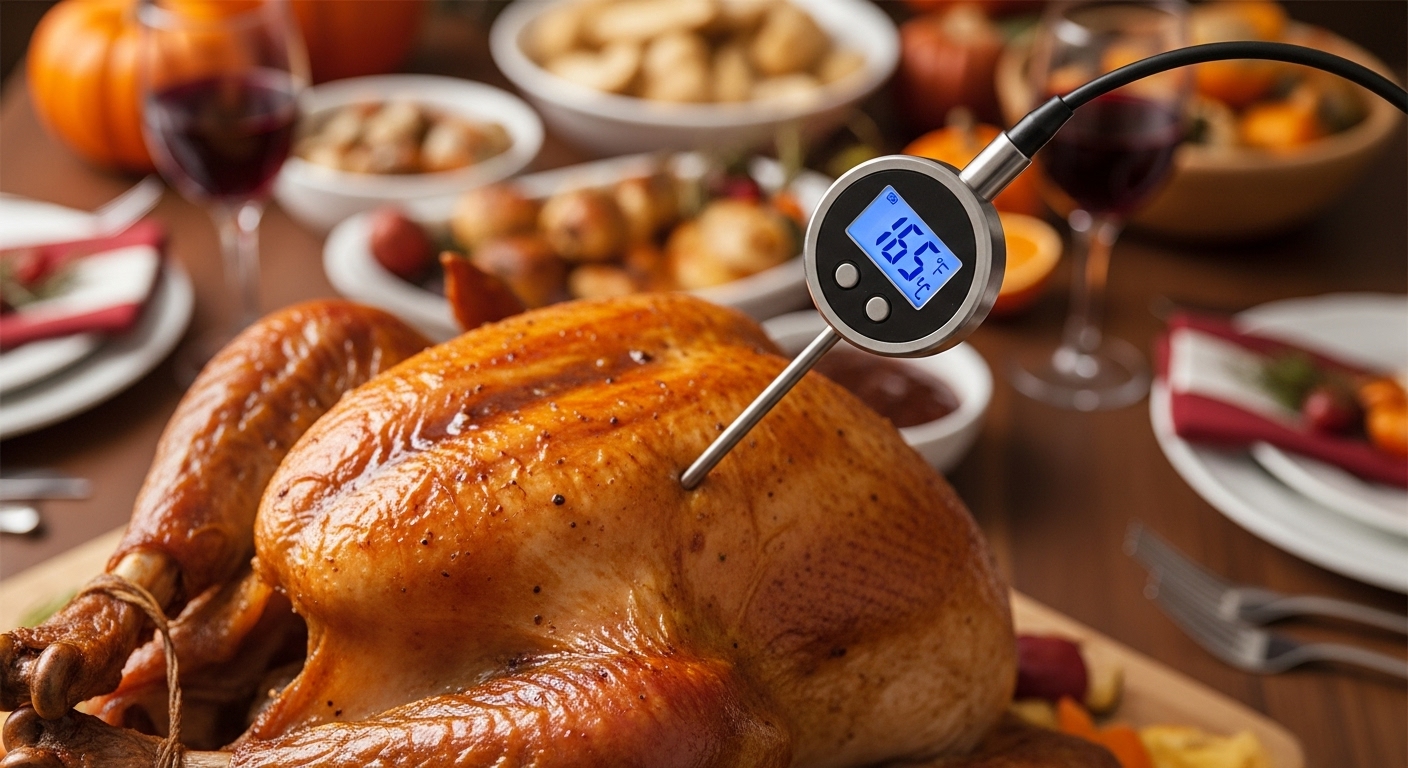
A meat thermometer is the easiest way to stop guessing and start getting juicy chicken, tender steak, and safe leftovers—without cutting your food open every time. Once you use one correctly, it’s hard to go back.
This guide covers the two main types (instant-read vs probe), exactly where to place the tip, safe internal temps, and the cleaning habits that keep your kitchen safer (and your thermometer accurate).
Instant-Read vs Probe Thermometer: What’s the difference?
Instant-Read Thermometer
What it does: You poke it in, it gives you a reading in a few seconds, then you remove it.
Best for: Steaks, burgers, chicken pieces, fish, checking doneness quickly.
Real-life advantage: Fast spot-checking multiple items without leaving anything in the oven/grill.
Probe Thermometer (Leave-in / Oven-Safe Probe)
What it does: A probe stays in the meat during cooking, often connected to a wire or wireless base.
Best for: Whole chicken/turkey, roasts, brisket, pulled pork—anything that cooks longer.
Real-life advantage: You track temperature without opening the oven (which slows cooking).
Simple rule:
- Cooking fast → Instant-read
- Cooking long → Probe
The #1 skill: where to insert the thermometer
Most “wrong readings” come from the thermometer tip touching the wrong spot.
General placement rule
Insert the tip into the thickest part of the meat, aiming for the center, and avoid:
- Bone
- Fat pockets
- The pan
- Stuffing (check stuffing separately)
Meat-by-meat placement tips
Chicken breast (boneless):
Insert from the side into the thickest center. Don’t poke straight down (you might hit the pan).
Chicken thighs:
Go into the thickest part, avoid the bone. Thighs often taste better cooked a bit higher than minimum safe temps.
Whole chicken/turkey:
Check two spots:
- Deepest part of the breast (not near the cavity)
- Thickest part of the thigh (avoid bone)
Steak:
Insert from the side (not top) toward the center for a truer internal reading.
Burgers/meatballs:
Probe into the center. For thin patties, slide the tip in horizontally.
Pork chops:
Insert from the side toward the middle, avoiding the bone. Chops are easy to overcook without a thermometer.
Fish fillets:
Insert into the thickest section. Fish cooks fast—check early.
Roasts (beef/pork/lamb):
Probe dead-center, away from bone. For uneven shapes, check multiple spots.
How to use an instant-read thermometer (step-by-step)
- Start checking early (especially for chicken and fish).
- Insert into the thickest part and wait for the reading to stabilize (not just the first number).
- If cooking multiple pieces, check at least 2–3 pieces, not just one.
- Pull the food a couple degrees early if it will keep cooking while resting (carryover cooking).
Carryover cooking tip:
Big cuts keep rising after heat is off. Small cuts rise less. Resting matters.
How to use a probe thermometer (step-by-step)
- Insert probe into the thickest center before cooking.
- Route the cable so it won’t get pinched in the oven door (if wired).
- Set an alert temperature slightly below your target to avoid overshooting.
- Don’t rely on one spot for large cuts—near the end, confirm with an instant-read in a second area.
Safe internal temperatures (quick guide)
These are commonly referenced minimum safe temps. If you have a local food-safety guideline you follow, stick with it.
- Poultry (chicken/turkey): 165°F / 74°C
- Ground meats (beef/pork/turkey): 160°F / 71°C
- Beef/steak/roasts:
- Rare: 120–125°F (49–52°C)
- Medium-rare: 130–135°F (54–57°C)
- Medium: 140–145°F (60–63°C)
- Medium-well: 150–155°F (66–68°C)
- Well: 160°F+ (71°C+)
- Pork (chops/loin): 145°F / 63°C + rest time (texture improves a lot)
- Fish: 145°F / 63°C (or until opaque/flakes easily)
Real-world note: Many people cook thighs higher than 165°F because the texture becomes more tender.
Resting: why your thermometer reading changes after cooking
If you pull meat right at your target and slice immediately, juices run out and texture suffers.
Resting guideline (simple):
- Small cuts (chops, breasts): 5 minutes
- Steaks: 5–10 minutes
- Whole chicken/roasts: 15–30 minutes
Why it matters:
Temperature can rise a few degrees while resting, and juices redistribute.
Cleaning tips (important and easy)
A meat thermometer touches raw protein, so cleaning isn’t optional.
Best practice cleaning routine
- Wipe the probe with a clean paper towel first
- Wash the metal probe with hot soapy water
- Rinse and dry immediately
What NOT to do
- Don’t submerge digital units unless the whole device is waterproof
- Don’t put the display unit in the dishwasher
- Don’t use the same thermometer on raw chicken and then on cooked food without washing
Quick sanitize option (when you’re in a rush)
After washing: wipe the probe with 70% isopropyl alcohol and let it air dry.
Common mistakes that give bad readings
- Touching bone or the pan (reads too hot or weirdly inconsistent)
- Checking the wrong area (thin edge instead of thick center)
- Not waiting for the reading to stabilize
- Checking only one spot on large cuts
- Skipping cleaning between raw and cooked checks
Troubleshooting: “My thermometer seems off”
Try these quick checks:
- Ice water test: Tip in a cup of ice water should read close to 32°F / 0°C.
- Boiling water test: In boiling water, it should be close to 212°F / 100°C (varies with altitude).
If it’s way off, it’s time to recalibrate (if possible) or replace.
My practical “no-fail” method for weeknights
- Use instant-read for fast cooking.
- Check early, then check again in 2–3 minutes.
- Pull slightly early and rest.
- Always clean right away (or at least wipe + wash before the next check).